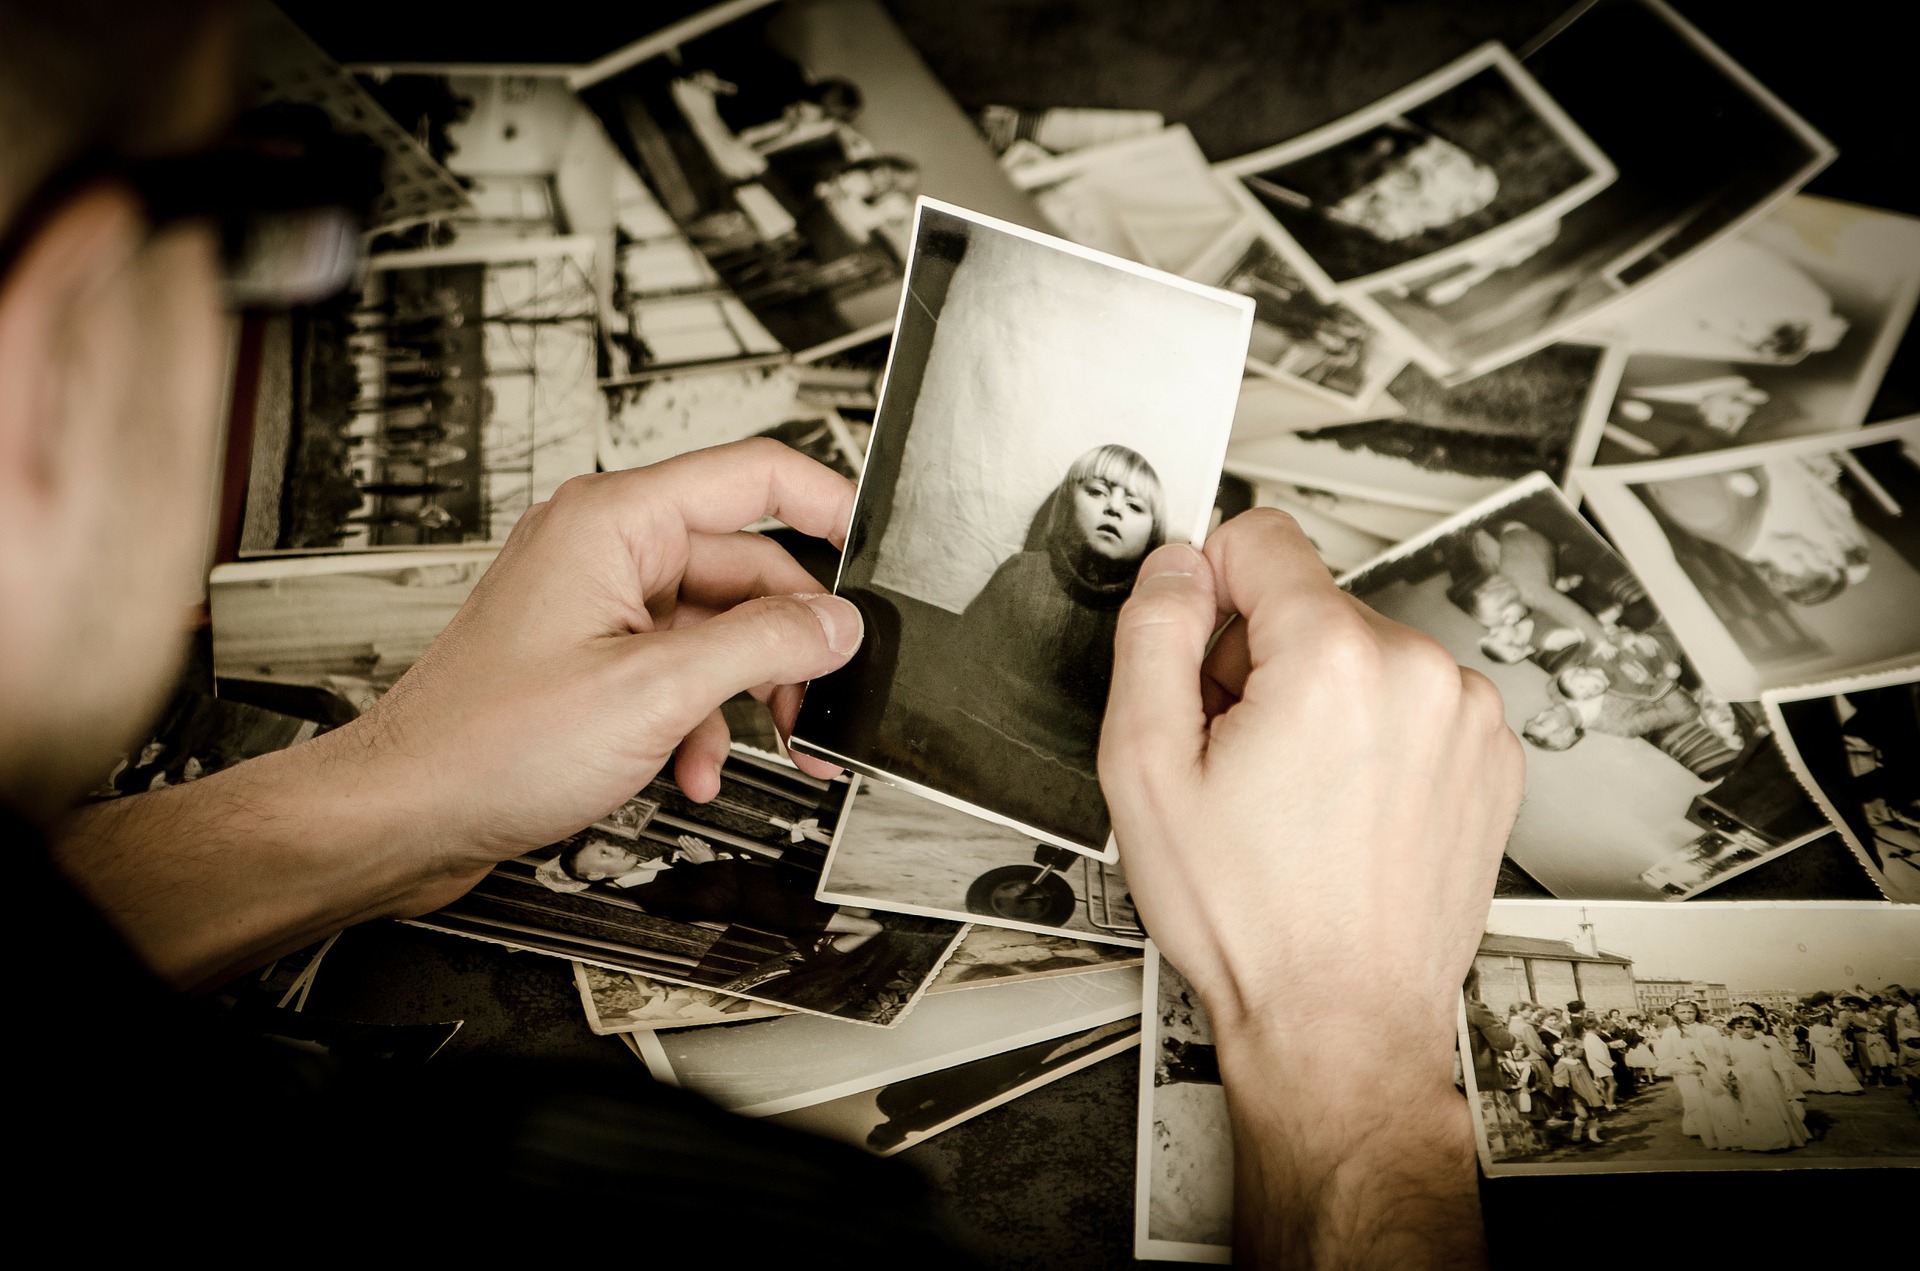
Photo restoration is one of the most popular photo editing services that people seek out. Why? The answer is simple – photo restoration allows you to take old photos and make them look like new! However, photo restoration can be tricky without the proper techniques. Luckily, there are three great tips for restoring a photo that will help anyone get started on their own photo edits with ease.
Scan your photo to create a digital copy
One of the best ways to start photo restoration is by scanning your photo into a digital format. This will allow you to have a copy of the original photo that you can work with and make any necessary adjustments to without damaging the actual photo itself. Not only does scanning your image provide a backup in case something goes wrong, but it also makes the editing process much easier since you can zoom in and out of the photo as needed.
Use image software to restore color and clarity.
Once you have scanned your photo, the next step is restoring its color and clarity. This can be done using any basic image software – like Microsoft Paint or Photoshop Elements – that allows for basic adjustments like brightness, contrast, and saturation levels. By fine-tuning these settings, you can bring back the vibrancy that your photo may have lost over time.
Take advantage of photo-sharing sites for restoration assistance
If restoring your photo seems out of reach because it is too faded or damaged, consider uploading your image to a photo-sharing site like Flickr and asking other users to aid in its restoration. Many generous people online will help restore photos as a hobby – all you need to do is ask!
To conclude, photo restoration can be a fun and rewarding process, whether you do it yourself or enlist the help of others. With just a few simple steps, you can breathe new life into your old photos and preserve cherished memories for years to come!